Wednesday, February 29, 2012

Masquerade Party

A couple of weeks ago, one of my best friends, Jamie, turned 30, well maybe 29...again... :) We got the ok to plan a surprise birthday party for her, with her husband footing the bill! Awesome!

Here's Jen (my co-party-planner) Jamie (the birthday girl) and me in our fun masquerade masks. Jamie always talks about how much fun it would be to have a masquerade party...so the theme was easy to pick out. We asked all of the guests to wear all black and convinced Jamie to wear a turquoise dress so she would really stick out as the guest of honor.

Amber from Fern Photography did the photos. She is also a military wife and just opened up a studio downtown. I love her funky, modern photos!

I found a great venue for a reasonable rental fee. The History Museum is in an old factory building downtown and the event room has so much character with brick walls and big wooden doors, that I knew we wouldn't have to add much party decor to make it look nice. All we had to add for decor was some twinkle lights over the dance floor and centerpieces on the tables.

We found feather wreaths on sale at Joann's and lay them flat on the table. Then we placed small vases inside the wreaths and had battery operated tealights and a mix of peacock feathers and ostrich feathers in the vases.

We prepared 4 of the Stoffer's family sized Chicken Lasagnas and had other close friends bring bread or salads. With each lasagna at only $10, we saved a lot of money by not hiring a caterer.

Another close friend, Erin, made the cake. She makes cakes for all of our parties and they always turn out so perfect!

I love these ladies! Janie, Erin, Jamie, Jen, me, and Irene. This is my core group of friends here in Montana. Being a military wife, you really learn to make great friends quickly. Being away from family, close friends become family.


I really tried to get a good picture of Jake and me, since we hardly ever dress up. Yes, Jake is rolling his eyes...but it fits his goofy personality!

Friday, February 24, 2012

Dreams

Jake and I were talking about what home improvement projects we want to use our tax return for, and it got me thinking about my dream home. We're only 27, so it's a little early to plan our dream home...but I can still start gathering ideas...right? I really like the house we have now. It's small, but it is a perfect starter home. It has also made me realize certain things that I would require in my dream home.

Most importantly...location. Jake and I both agree we want to be in the country. Close enough to drive to the city, but still private.
Something like this would be AMAZING! Yes...I realize a location like this would be hard to find and very expensive...but it's a dream!

As for the style of house....I love craftsman.

One thing that made me fall in love with our current house is the color, white siding with blue trim. I love the look of this photo, with the red door! I cannot convince Jake to let me paint our current front door red...bummer...maybe on our dream home!

I've collected a couple of house plans, but this one is my favorite.
I was told by my sister-in-law that the reason I love this house plan is very similar to my childhood home. After looking again, I admit she is completely right...and still love it!

Jake is more a fan of the open floor plans, so this one is a nice compromise. The entryway would be awesome!

I have lots of interior photos saved, and I won't bore you with all of them, but I want to share my favorite, white glass front cabinets in the kitchen. Again, something very similar to what we had in the house I grew up in.

***I do not own any of these images. Each photo links to the site that I "borrowed" the inspiration from***

Wednesday, February 22, 2012

Crock Pot Beef Burritos

I love crock pot recipes, and this one is a dump it in and leave it all day kind.

Ingredients:
a hunk of beef about 2 pounds (we got what was on sale...I think a shoulder maybe?)
a jar of salsa
tortillas
sour cream

Directions:
Put the meat in the crockpot.

Pour the entire jar of salsa on top of the meat.

Cook on medium heat for about 6 hours.

The juices will come out of the meat to make the salsa soupy. Use 2 forks to shred the meat. Then cover and cook another 2 hours.

Serve on tortillas with sour cream. Yum!


Monday, February 20, 2012

Kitchen Freshin' Up

When we moved in, we were excited about a this great glass front display cabinet in the dining part of the kitchen. I love my Fiestaware and want to add to my collection, so I thought it would be great to have them out where they can add color to the kitchen. This is what the cabinet looked like this morning:


Like I said before, I was excited about displaying dishes, and it's a great idea, but it is horrible to clean! The two glass doors slide and overlap, so getting an arm inside to wipe the glass is very hard and there are certain parts that can't be reached at all. So, it always looks dirty and there is always a glare on the glass. I've wanted to take the glass off for a while, and just leave the shelves open, and today I finally took out the screw driver and started pulling it apart. It was a booger to get out! I finally had to have Jake bend the metal tracks to slide them out. As he said "Whoever built this house did NOT want this taken out!" We finally got it out and popped the glass out. It was great to be able to really deep clean those shelves. Here you can see the mirror backing. I'm still trying to decide if I want to keep it with a mirror or maybe do some cute paper as a backing. For now, it will stay a mirror.


Now my Fiestaware is visible and looks fresh out in the open without that yucky glass. Some of the pieces are in the dishwasher right now, but I still have plenty of room to add to the collection!

Sunday, February 19, 2012

Burlap and Sharpie Pillow

Last week I redid my guest bedroom, and made a last minute burlap pillow. Here is my Guest Room Reveal.

This is the pillow! Made from a pillow form from Joann's, a scrap of burlap from the thrift store, and a brown sharpie. Here's how I made it.
 
First, cut two pieces of burlap large enough to extend about 2 inches on each side of the pillow form.

Print the phrase or picture in black ink on regular printer paper. Fold it to find the center.

Also find the center of the piece of burlap. Then match the centers and pin in place.

Flip over the fabric. You should be able to lightly see the image through the burlap.

Then start tracing the image with the sharpie. I printed a second copy so I could see the word clearly.

Place the finished traced burlap piece over the other burlap piece, lining up the edges.

Pin the edges all the way around.

Sew the edges all the way around with about a 1/4 inch allowance. I did the sewing right side out, knowing the the thread would show, but I wanted the raw edge to show.

Now center the pillow and pin as close as you can to the pillow form, all the way around. Then sew on the pin line.

This creates a nice thick border while keeping the pillow centered.

I like the look of the burlap pillow on the all white bed linens. I think I'll do a couple more burlap pillows...maybe one with polka dots and another with a bird silhouette. I'll post photos when I get them done.


Wednesday, February 15, 2012

Pizza Mac

I found a delicious and easy recipe for Pizza Mac last year. It has become one of our favorite meals.

Ingredients:
1 box mac and cheese
1 lb ground beef
1 jar pizza sauce
1 pack pepperonis
1 lb italian mix shredded cheese

Directions:
Brown beef, then drain
Meanwhile, prepare the macaroni as directed on the package
spread the mac and cheese on the bottom of a casserole pan
spread half of the cheese on top of the mac and cheese
 spread all of the beef on top of the cheese
 spread the entire jar of pizza sauce on top of the beef
 top with a layer of pepperonis
 top with the other half of the cheese
 Cook at 400 degrees for 20-25 minutes until the cheese on top turns golden
Enjoy!

Sunday, February 12, 2012

New Guest Room Reveal

I'm very excited about this post!!! I've been wanting to change up the guest room for a few months and seriously thinking about it for a few weeks. Today, I just went for it and it turned out to be very quick and easy, since I kept the colors and furniture the same...just switched out all the decor. This is what the guest room looked like this morning:

When we first moved in 2 years ago, I liked the idea of orange walls, and tried to go for an exotic feel...but I never really liked it. As you can see, I never even finished hanging decor on the walls. Today, I took out the bed linens, rug, chair, small decor, and mirror :( I'm not sure what I'm going to do with that mirror now...I really like it, but it just doesn't fit with the country cottage feel that I'm going for. Hopefully I can find someone to give it a good home :)

Here it is now! What do you think? It's pretty simple...I haven't had a chance to buy many small decor items.

This was my big project for the day. I bought this window at The Barn, a great antique store here in town. They have a huge selection of old windows, but they are piled outside, so most of them need a lot of work to clean them up. This one wasn't too bad, it was already painted white so I cleaned it really well and scuffed up the paint a bit. Then I added this vinyl saying that I love "Life is not measured by the number of breaths we take, but by the moments that take our breath away." This is by far my favorite decor in the entire house...so far! I have more windows in my craft room waiting to be cleaned and hung up :)

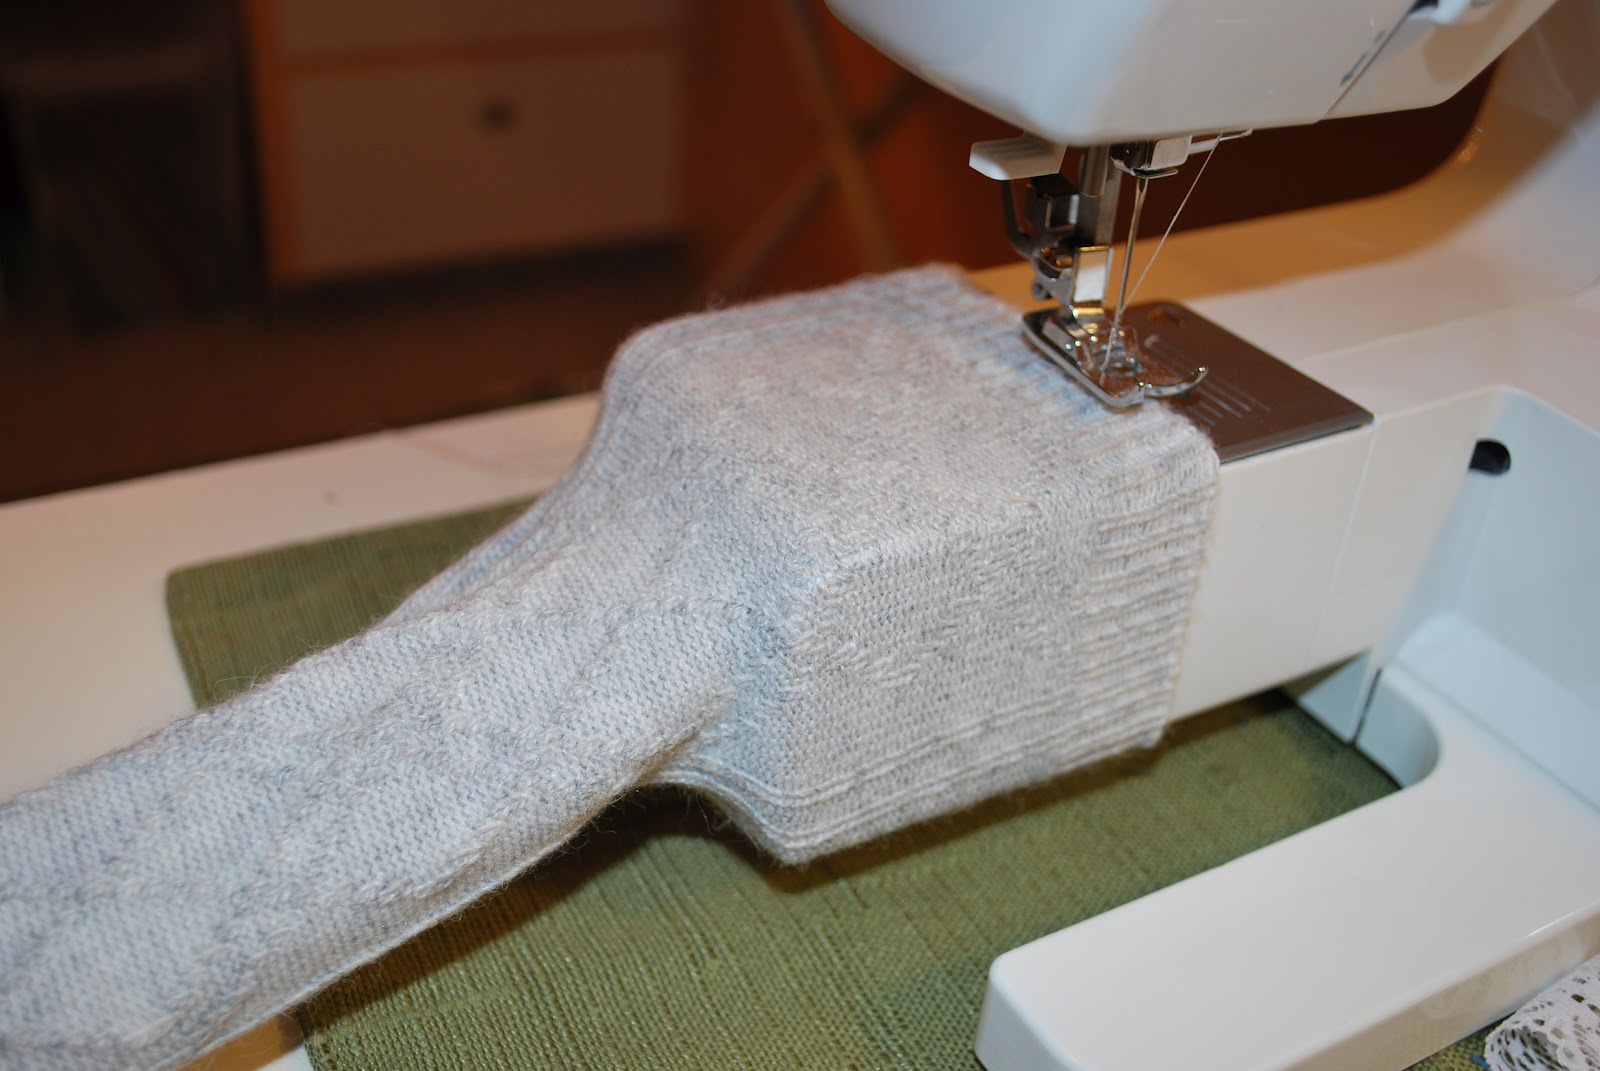
Last minute, I decided to make a burlap throw pillow. It turned out cute, so I plan to make a couple more. Sometime this week I will do a detailed tutorial on how I made this pillow.

I found this cute pitcher, in a set of 3 different sizes for $6.50 at Ross, and added a burlap bow, I think I'll run to Michael's this week to pick up some pretty flowers to throw in. I want a lamp to also put on this table. What other decor items should I throw on here?

I really like this cabinet to store guest towels and extra blankets, but I think I might paint it white. In the basket on top, I have extra toothbrushes, soap, and other toiletries that guests may forget. I'm all ready for guest to come visit!


Saturday, February 11, 2012

DIY Lace Topped Boot Socks

My friend Jamie pinned a photo of boot socks with lace trim on Pinterest. I decided to make some for her for her birthday. 

I don't knit, so I bought a pair of nice boot socks from Target and found a pretty elastic lace at Joann's.

I wanted the lace to lay flat when the sock was stretched on a leg, so I wanted to stretch the sock while sewing. I took the front storage compartment off my sewing machine and stretched the sock (inside out) around the remaining part.


Then I sewed the lace along the top of the sock, overlapping about an inch where the ends met.
It turned out to be super easy! 

I wish I had long, skinny, model legs to show off the socks, but I'm 5'3" so it is what it is!

I gave her the socks last night at her birthday party and she wore them today with boots. I'd say it was a success!